New meal prep unlocked!
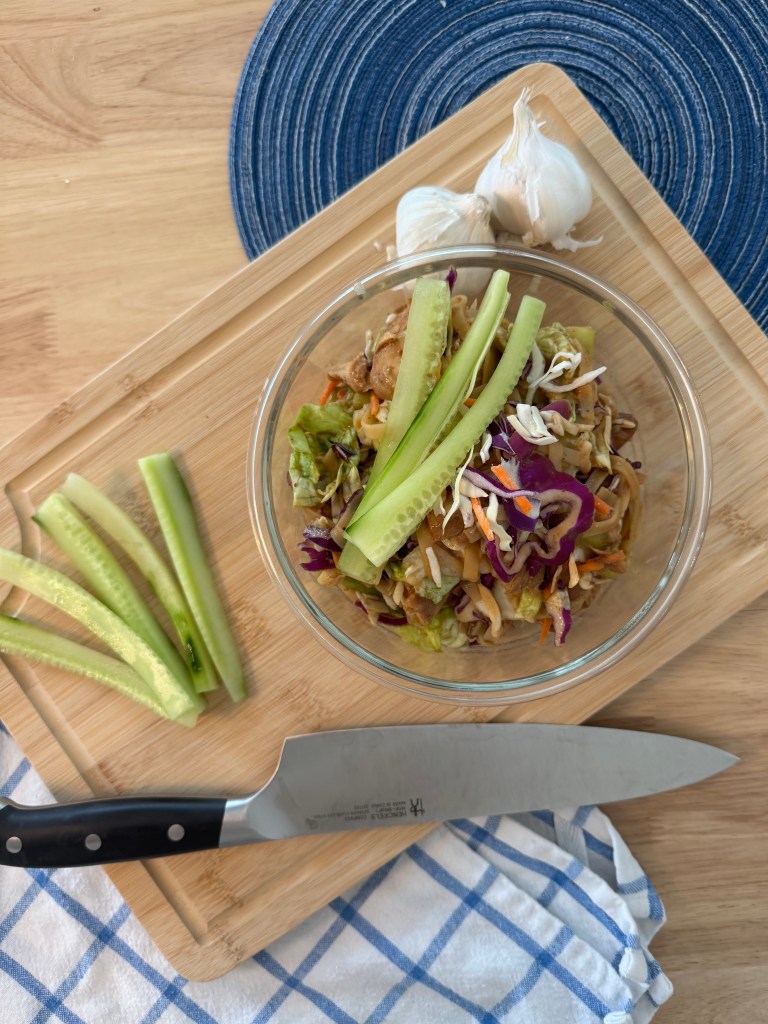
Sunny days call for cold noodles! I love the almond butter in this soy sauce noodle – it adds a great, nutty flavor. Feel free to play around with the veggies in this dish. Bell peppers and edamame would be awesome in this too.
Enjoy!
Prep Time: 25 minutes
Cook Time: 50 minutes
Chill Time (Optional): Overnight
Serves: 2 servings
Ingredients
Chicken:
- 1.5 lb chicken breast tenders
- 2 cloves garlic, minced
- 3 tbs soy sauce (I’m using reduced sodium)
- 1 tbs honey
Noodles:
- 60 grams rice noodles (I’m using Ocean’s Halo)
- 1/2 cucumber, peeled and sliced thinly
- 1 cup shredded lettuce
- 1 cup shredded coleslaw
- 2 tbs soy sauce (I’m using reduced sodium)
- 1 tbs almond butter
Recipe
- Preheat oven to 350° Fahrenheit.
- While the oven is heating, in a medium baking dish add chicken tenders, garlic, soy sauce and honey. Mix together so the chicken is fully covered. Let sit for 10-15 minutes to marinate.
- Bake the chicken in the oven for 35-40 minutes or until fully cooked. Take out and cover with aluminum foil and let sit, allowing the juices to soak back into the chicken.
- In a small pot, cook rice noodles according to the instructions.
- While the noodles cook, in a medium bowl combine cucumber, lettuce and coleslaw.
- In a small bowl, combine the soy sauce and almond butter for the noodle sauce. Using a fork or whisk, mix well until the almond butter is fully combined.
- Take 4-5 chicken tenders (or desired amount) and cut into 1-inch pieces. Combine with the cucumber, lettuce and coleslaw. Then, mix in the drained rice noodles and sauce. Mix well.
- For best taste, let chill overnight, which allows the flavors to soak in. Enjoy cold!
Processing…
Success! You're on the list.
Whoops! There was an error and we couldn't process your subscription. Please reload the page and try again.